15 Kitchen Organization Ideas Without a Pantry


Fifteen ways to store food when your kitchen has no pantry — one claimed cabinet, a rolling cart pantry, tiered risers, door storage and a simple everyday/backstock split that actually sticks.
Table of Contents (15 Ideas)
- 1.Claim One Cabinet and Audit Everything You Own
- 2.Use a Rolling Cart as a Mobile Pantry
- 3.Turn Cabinet Doors Into Storage
- 4.Stack Cans and Jars on Tiered Risers
- 5.Decant Dry Goods Into Clear Square Containers
- 6.Hang a Rail for Spices and Utensils
- 7.Use the Space Above Your Cabinets
- 8.Slide Baskets Into Deep Lower Cabinets
- 9.Store Baking Sheets and Boards Vertically
- 10.Claim a Closet or Hallway Shelf Nearby
- 11.Use Under-Shelf Baskets to Double a Shelf
- 12.Keep a Small Countertop Produce Zone
- 13.Put Backstock in Bins on Top of the Fridge
- 14.Label Everything by Zone, Not Just by Name
- 15.Do a 10-Minute Weekly Reset
No pantry is one of those kitchen problems that sounds small until you are living with it. Groceries land on the counter. Cans hide behind the flour. You buy a third bottle of soy sauce because the first two are in cabinets you forgot you owned.
Here is the good news: you do not need a pantry. You need a system — food given clear zones inside the cabinets, walls and odd corners you already have. These 15 kitchen organization ideas without a pantry are built for real small kitchens: renters, apartments, older houses with three cabinets and a prayer.
Start with idea one. It takes about twenty minutes, costs nothing, and makes every idea after it work better. If your fridge needs the same treatment, our fridge organization ideas pairs well with this reset.
 Save Pin
What helps most in a no-pantry kitchen
A handful of workhorses do most of the lifting here: a three-tier rolling cart, clear square containers, tiered shelf risers, under-shelf baskets and a vertical divider rack. Buy for the cabinet you actually have — measure its width, depth and shelf height first — and add pieces one zone at a time instead of ordering everything at once.
Claim One Cabinet and Audit Everything You Own

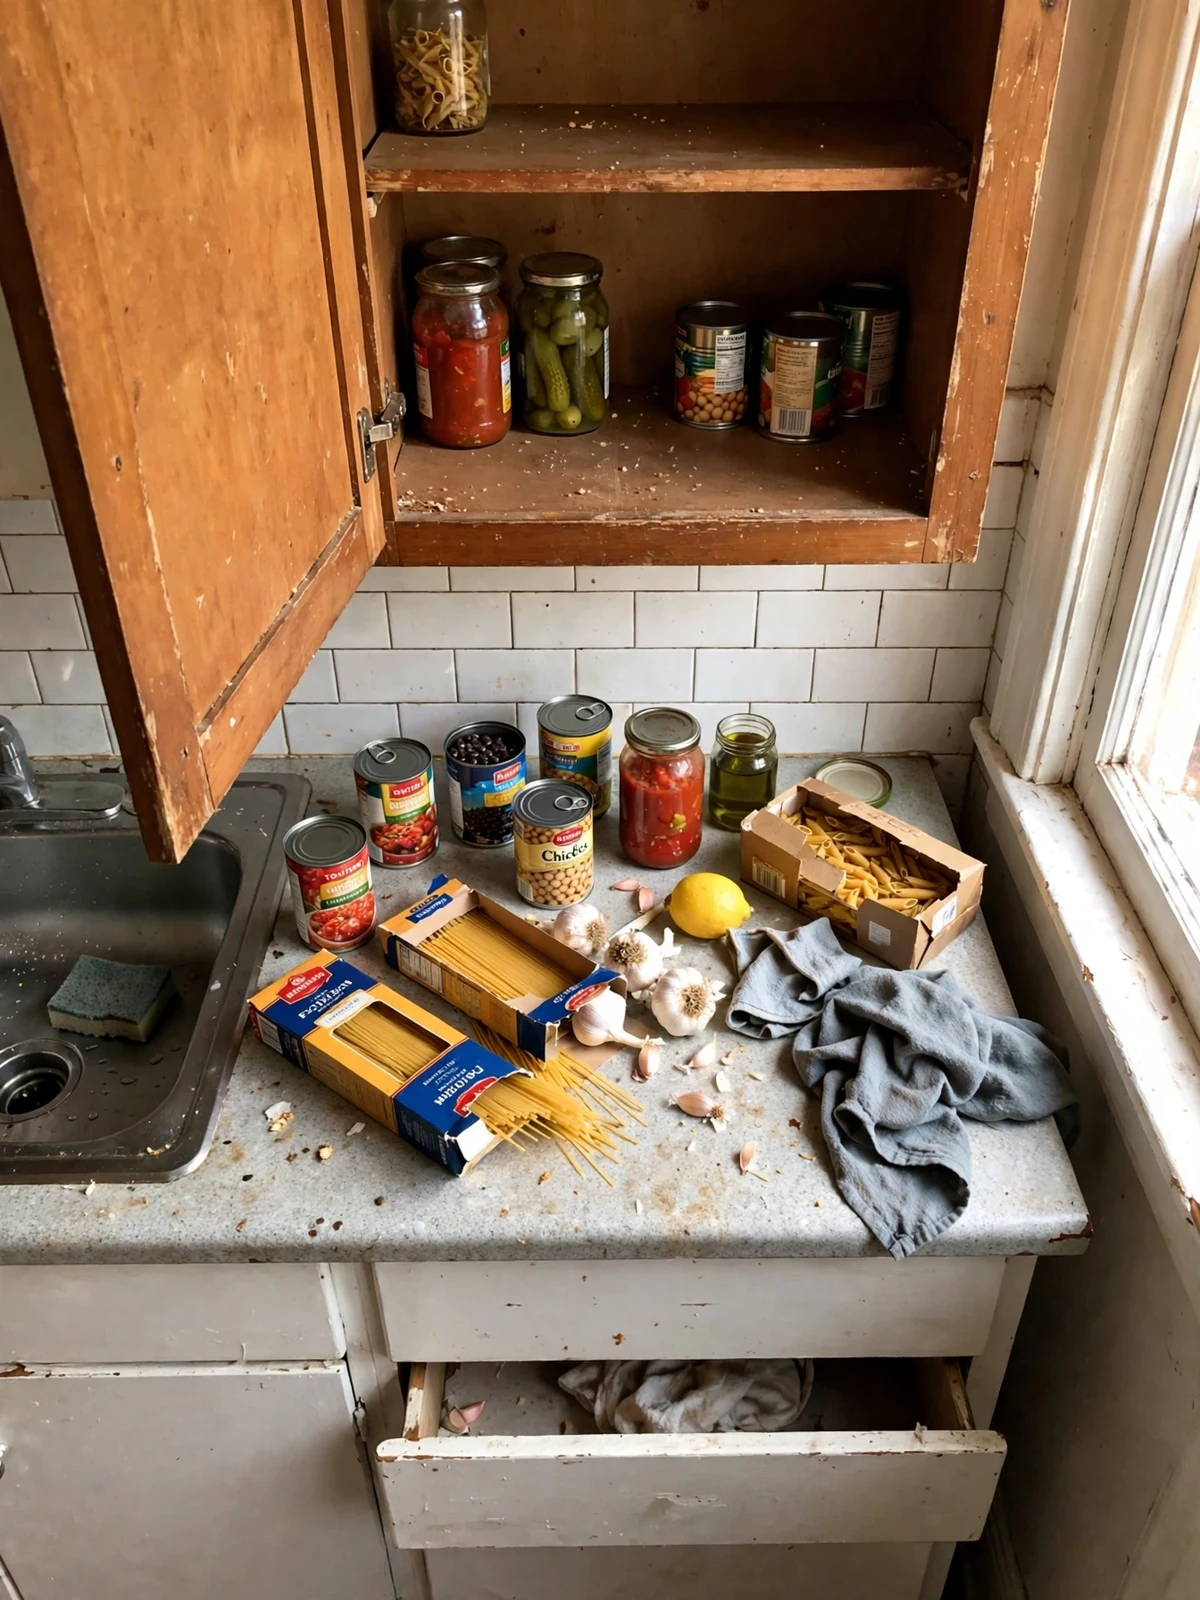
Start here, and start small. Pick ONE cabinet — the one closest to your stove or the one you open most — and give it a single job: food. Take everything out, even the stuff hiding at the back. Check dates, toss what is stale, and be honest about the three half-empty pasta boxes. I once found four open bags of rice in a cabinet that felt too small for one. Group what is left into piles: breakfast, cans, grains, snacks, baking. You are not organizing yet. You are just learning what you actually own, because a kitchen without a pantry fails when food is scattered in six places and nobody knows what is where.
Use a Rolling Cart as a Mobile Pantry

A slim three-tier rolling cart is the closest thing to a pantry you can buy for about $25 to $40. The standard ones are roughly 10 inches wide, which means they slide into that useless gap beside the fridge or between cabinets. Top tier: everyday stuff — oils, salt, your most-used spices. Middle: cans and jars. Bottom: heavy things like potatoes or extra drinks, so the cart does not tip. Because it rolls, you can pull your whole pantry out to the counter while you cook, then push it back. Renters love this one. No screws, no damage, and it moves out with you.
Turn Cabinet Doors Into Storage

Open any cabinet and look at the door. That flat space is storage you have been ignoring. A slim over-the-door rack or a set of clear adhesive pockets can hold spice jars, gravy packets, foil and wrap boxes, or the measuring spoons that always vanish. Keep door storage light and flat — doors were not built for heavy jars, and hinges will complain within a few months if you overload them. Measure the gap between the door rack and your cabinet shelves before you buy; you need about an inch of clearance or the door will not close properly. It is a ten-minute fix that frees a surprising amount of shelf space.
Stack Cans and Jars on Tiered Risers

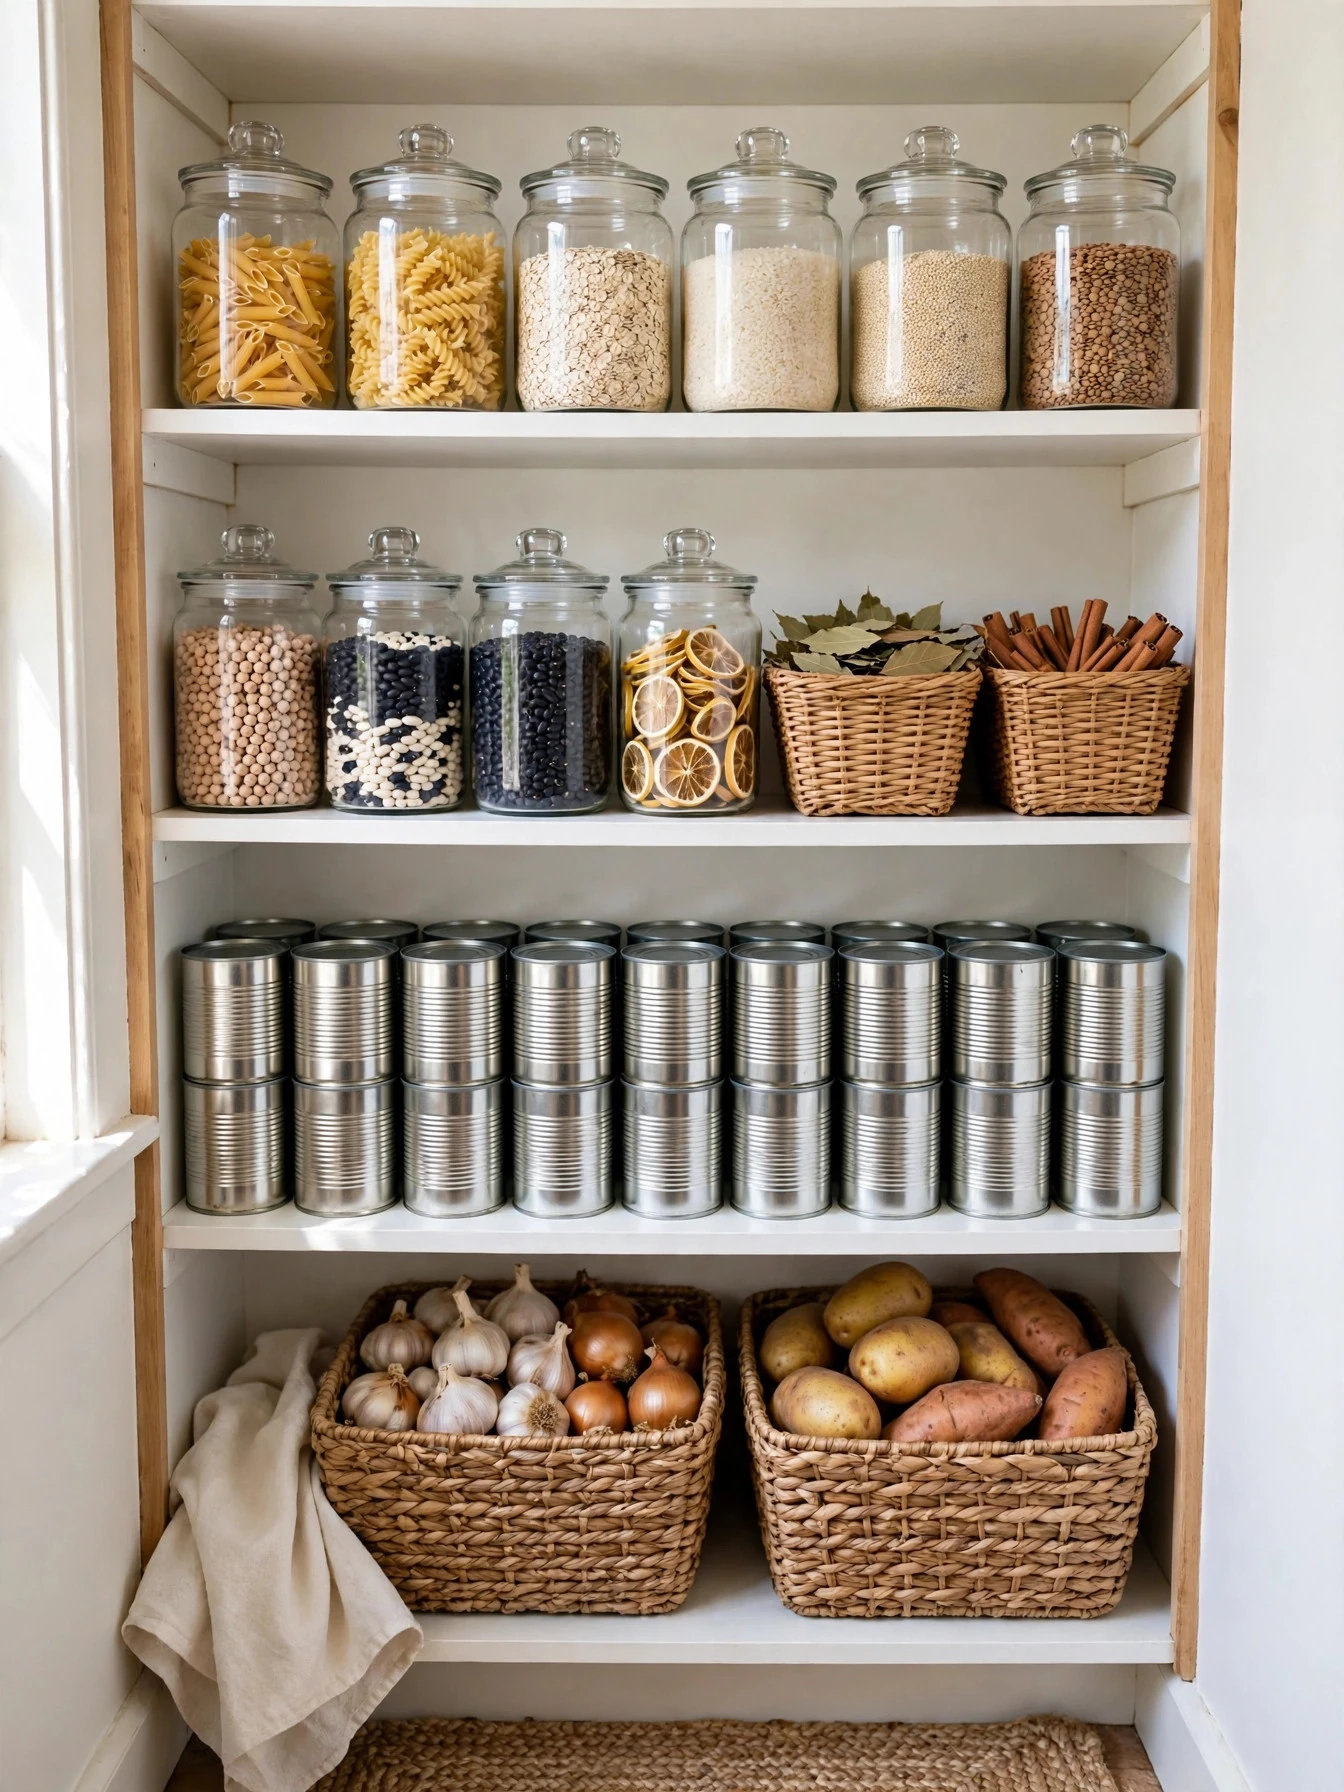
Flat shelves are where cans go to hide. A tiered shelf riser — basically a tiny set of stadium steps — lifts the back row up so you can see every label at once. No more buying a fifth can of chopped tomatoes because the other four were crouching behind the flour. Risers work best for cans, jars and short bottles. Measure your shelf height first: most risers add about 4 to 6 inches, and tall jars may no longer fit above them. Put like with like on each step, tallest at the back. If your shelves are deep, two risers side by side beat one wide one. It is easier to lift out and clean around.
Decant Dry Goods Into Clear Square Containers

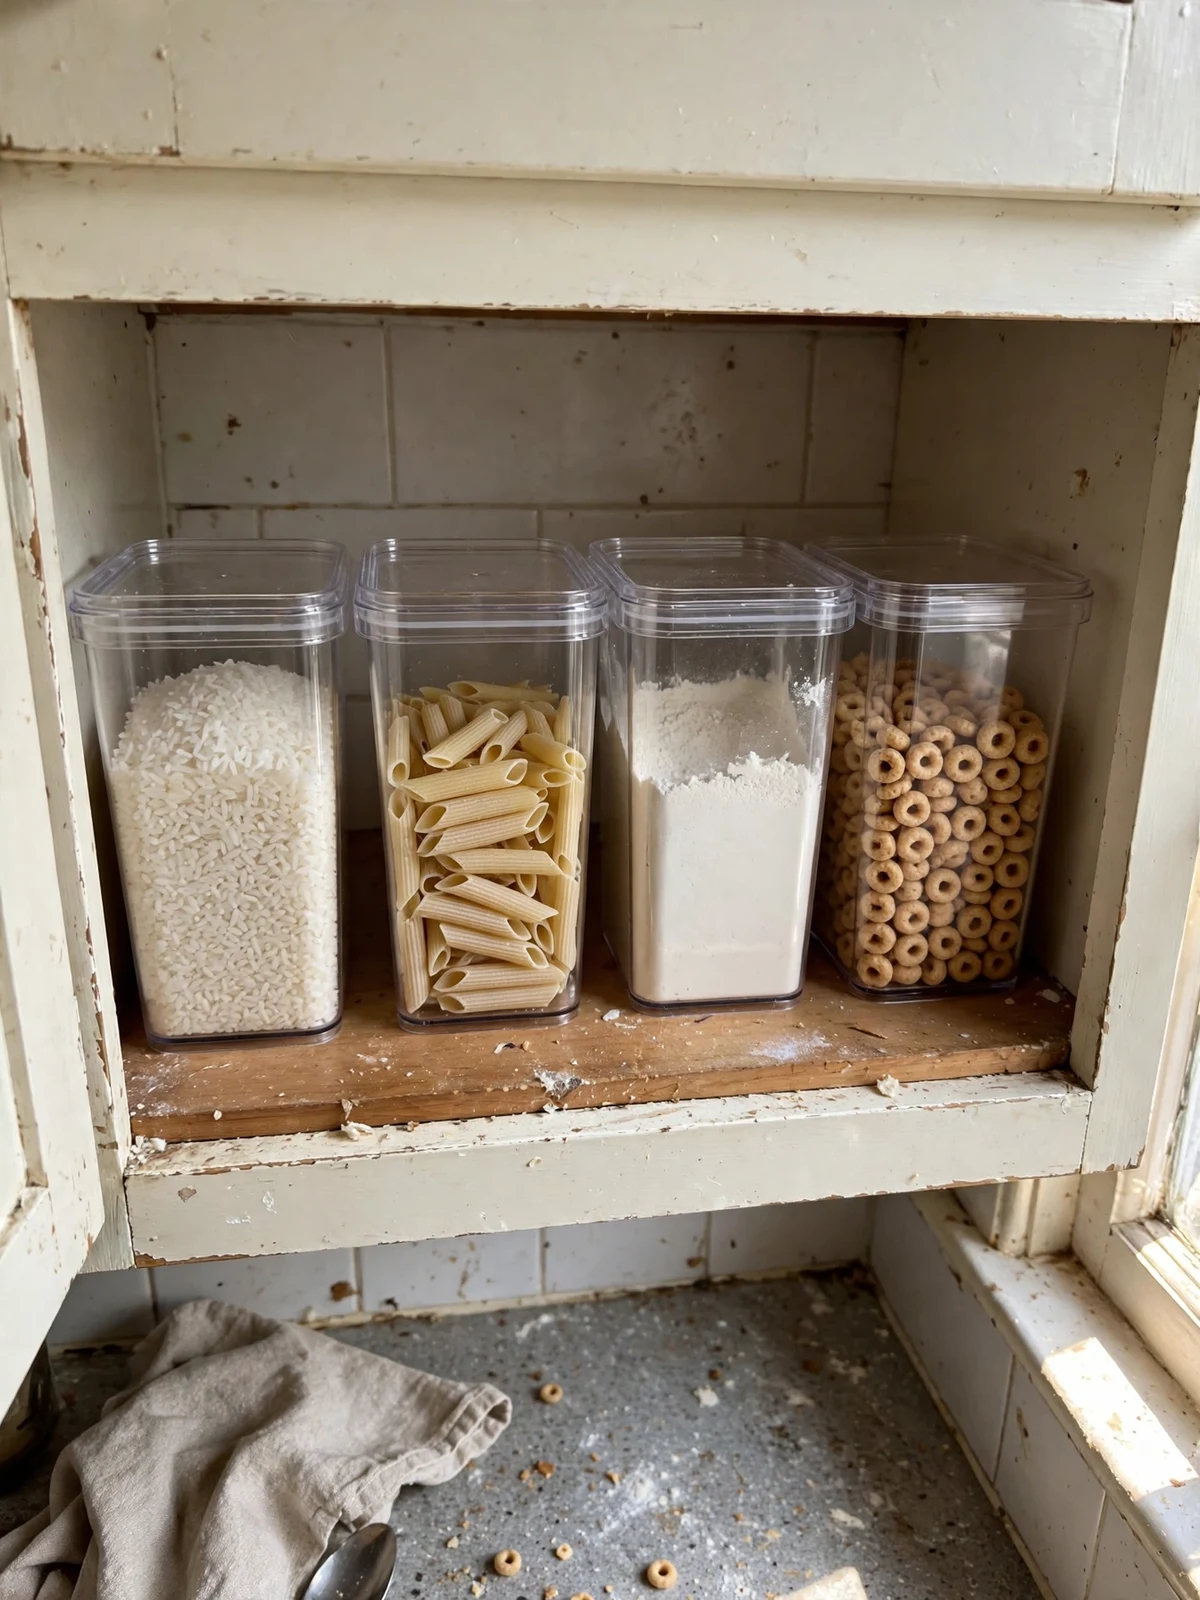
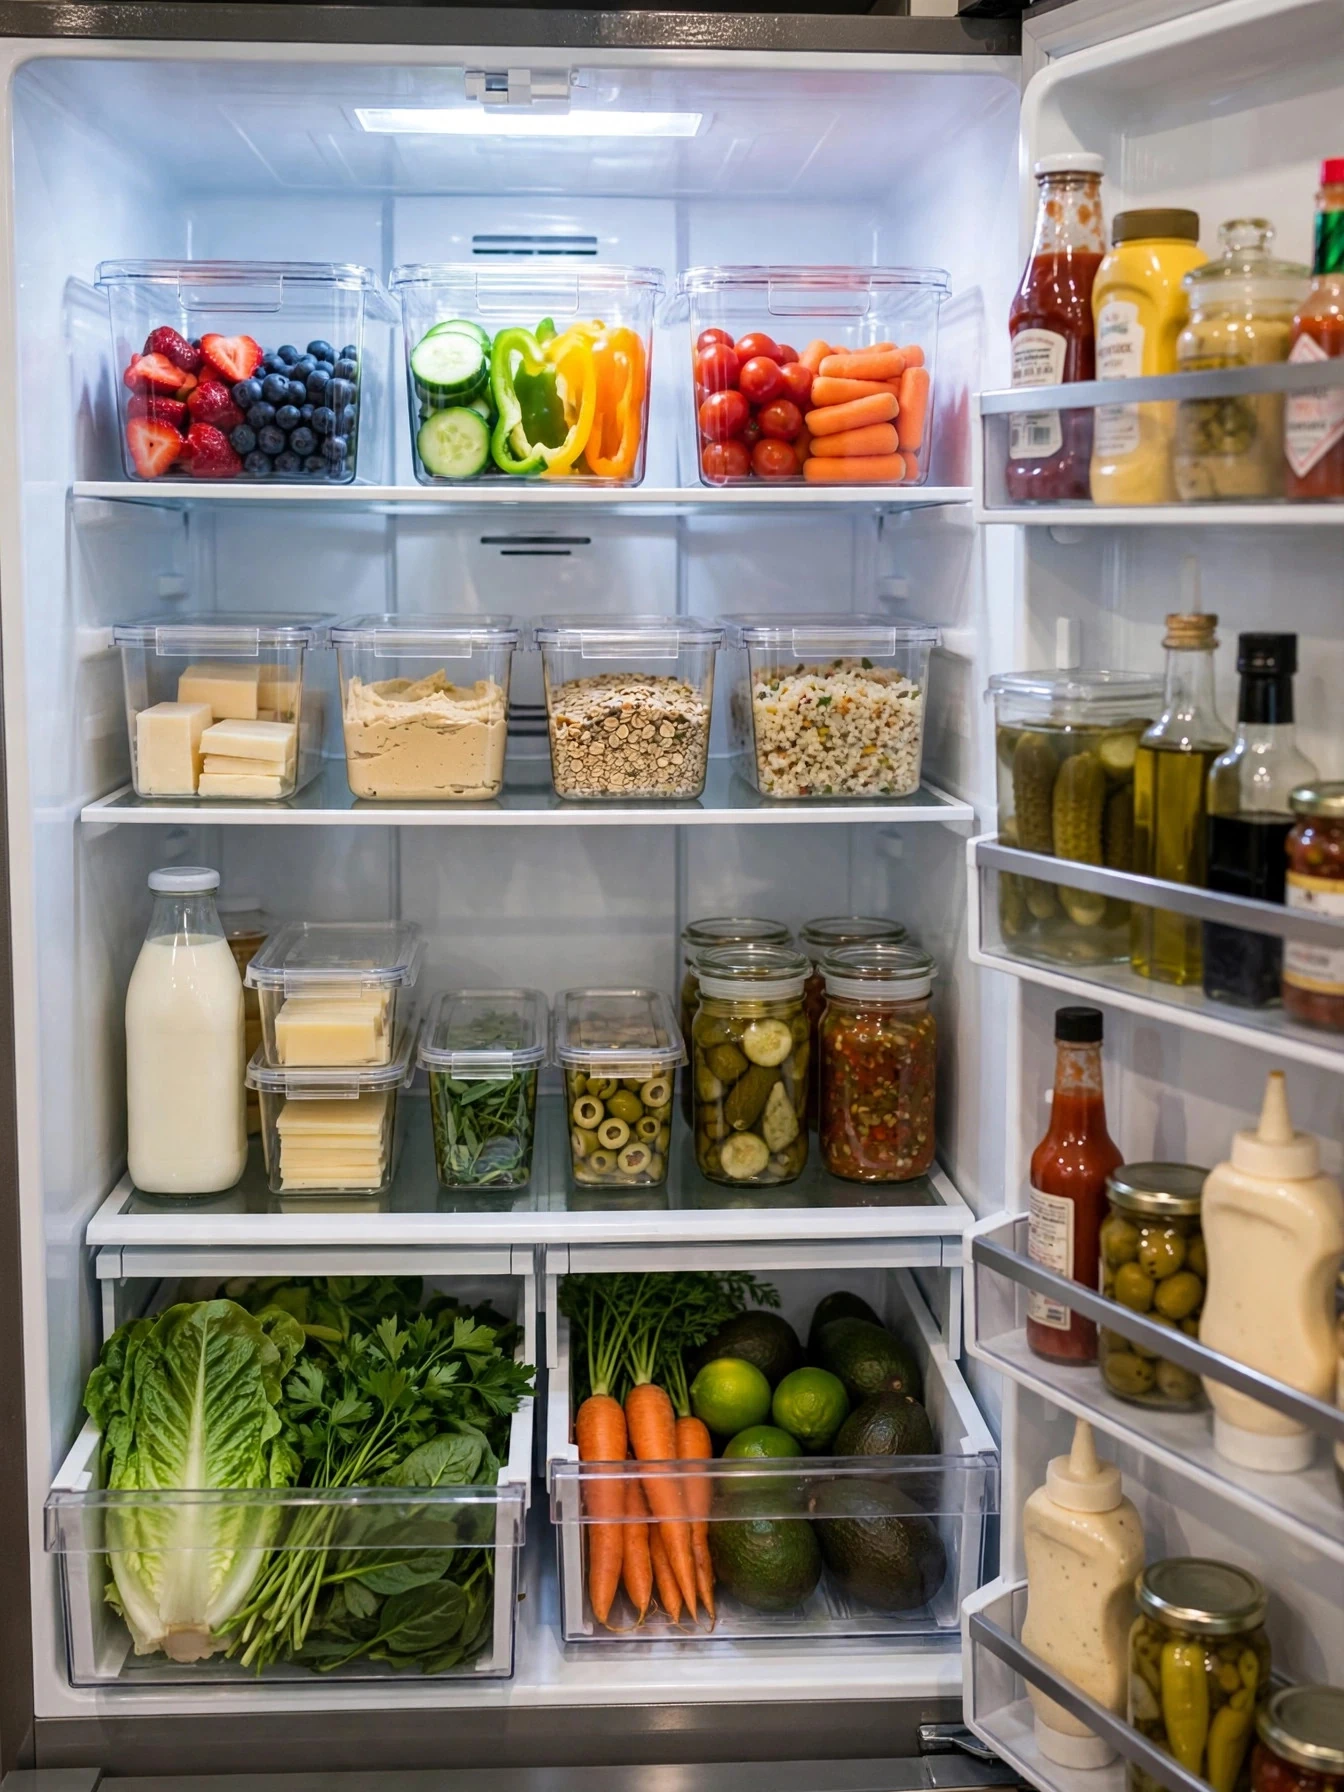
Half-open bags of flour and rice waste space and invite spills. Decant your dry goods into clear square containers — square matters, because round jars leave wasted gaps between them in a cabinet. A good set runs $20 to $35 and pays for itself the first time you can see, at a glance, that you are low on pasta. Keep the cooking instructions problem simple: tape the label or a small note with the cooking time to the bottom of the container. One honest warning: do not decant everything on day one. Start with the five things you use weekly. If the system annoys you after a month, you have only five containers to rethink.
Hang a Rail for Spices and Utensils

Walls work even when cabinets do not. A simple wall-mounted rail with hooks and small baskets, mounted above your counter or along a backsplash, gets spices, oils and everyday utensils out of precious cabinet space. This is the spot for things you grab while something is already sizzling — you do not want to be opening cabinets with wet hands. Keep the rail short, around 24 inches, or it turns into visual clutter fast. If you are renting, look for strong adhesive rails first and test one hook with your heaviest jar overnight. The mistake people make here is hanging pretty things they never use. This rail is for workers, not decoration.
If you buy one thing, buy the cart
If the budget allows one purchase, make it the three-tier rolling cart. It adds a pantry where there was none, needs zero installation, and renters can take it along. Pair it with clear square containers in your main cabinet and you have covered most of what a pantry actually does.
Use the Space Above Your Cabinets

That gap between your cabinets and the ceiling is not dead space — it is backstock space. Use it for things you need monthly, not daily: extra paper towels, the big bag of rice, seasonal baking supplies, spare jars. Store them in matching woven storage baskets or lidded bins so the top of your cabinets looks calm instead of chaotic, and so dust stays off the food. Keep a small step stool nearby, or you will never bother getting anything down. Be strict with yourself here. If you have not touched a bin in six months, its contents probably belong in a donation box, not above your cabinets forever.
Slide Baskets Into Deep Lower Cabinets

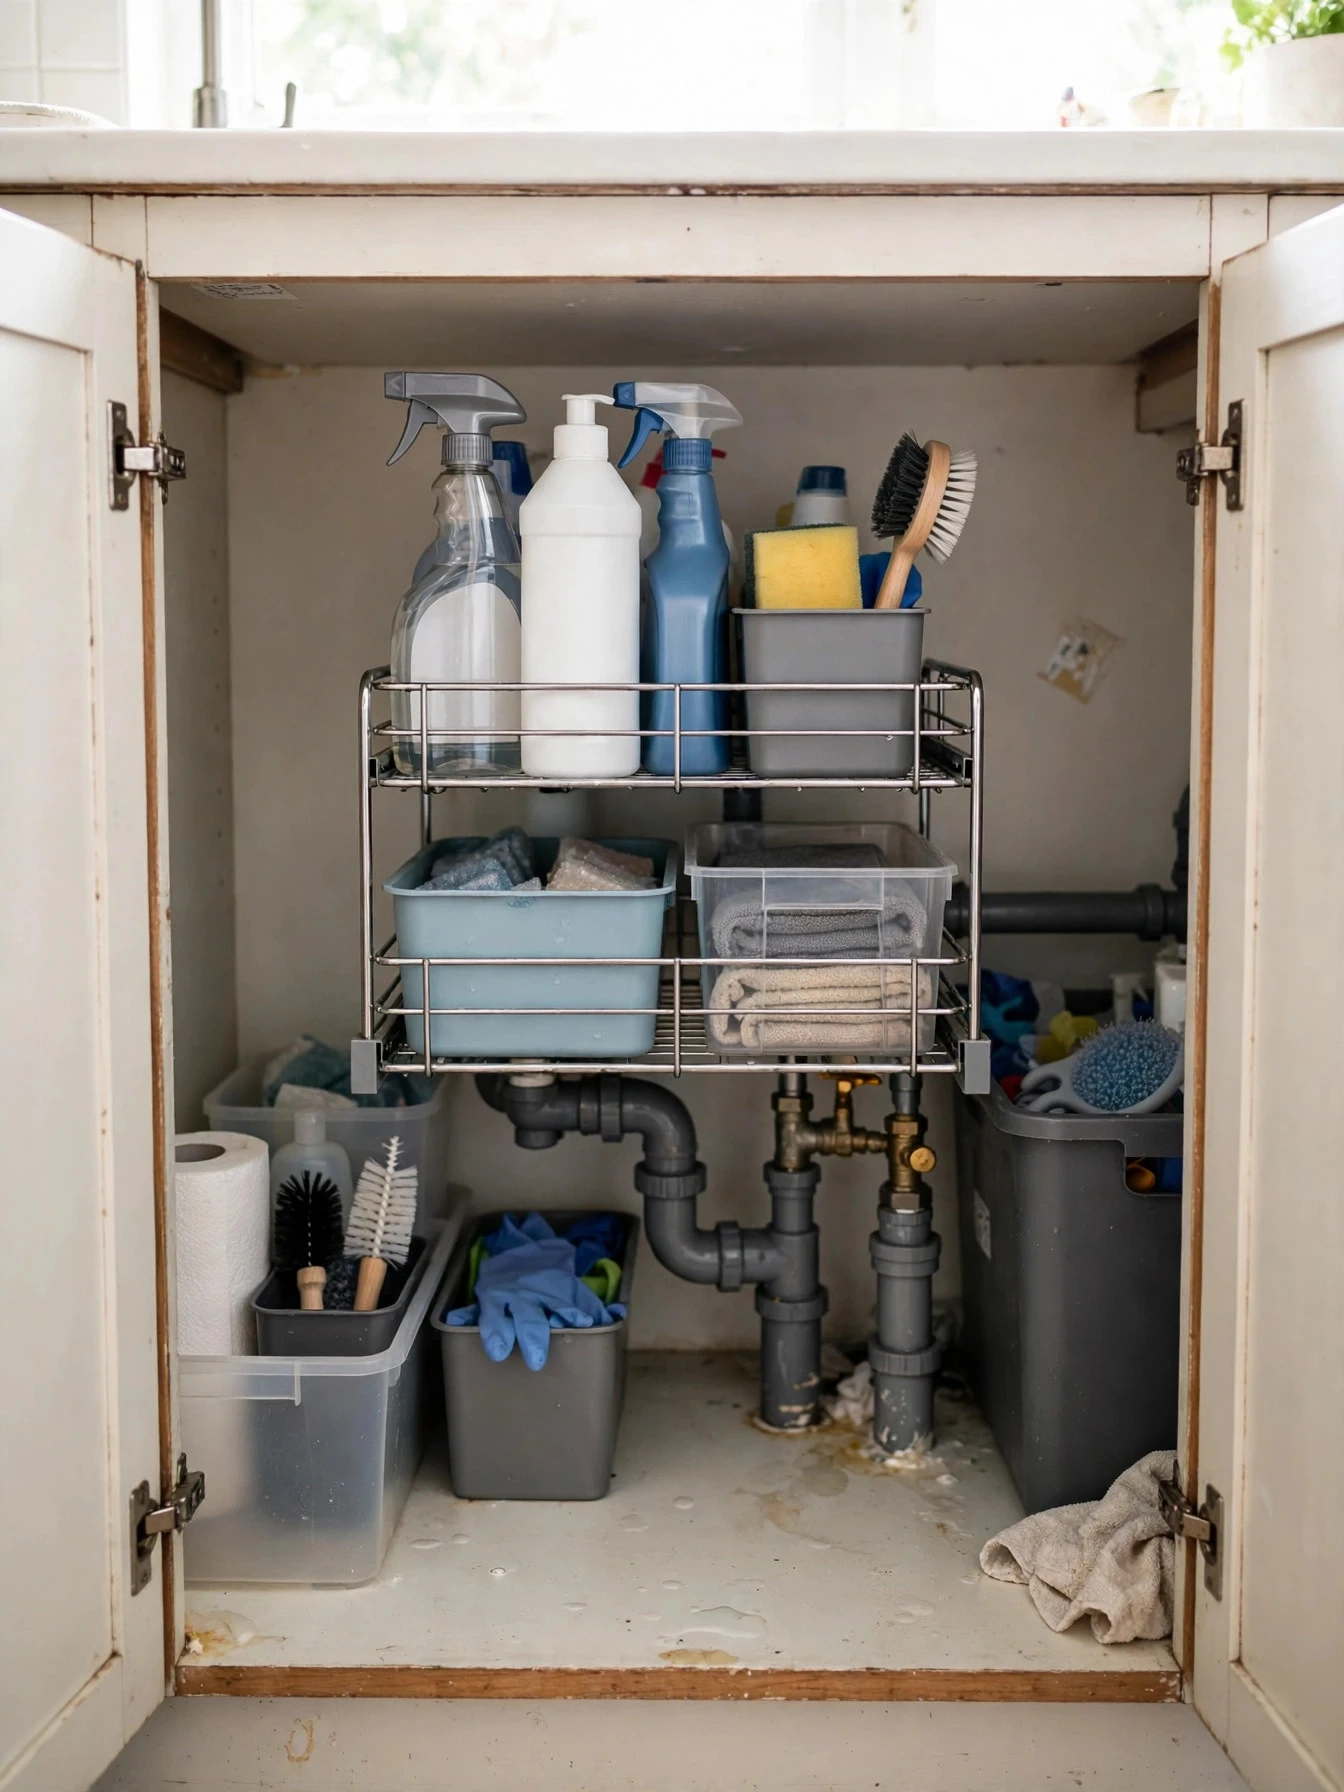
Deep lower cabinets are where pantry items go missing. The fix is to stop treating the cabinet itself as the container. Use two or three pull-out baskets or sturdy bins that slide — one for cans, one for jars and bottles, one for packets and boxes. When you need something, you pull the whole category toward you instead of kneeling and reaching past nine other things. Leave the front 2 inches of the cabinet empty so baskets slide without catching the door frame, a small detail that saves daily frustration. This pairs especially well with our under-sink organization ideas if your lower cabinets are getting a full reset.
Store Baking Sheets and Boards Vertically

Baking sheets, cutting boards and trays stored flat in a stack waste a cabinet and test your patience every time you need the one at the bottom. Flip them upright. A simple vertical divider rack, or even a tension rod run front to back, lets you file them like books and pull out exactly the one you need. This one change often frees an entire cabinet — and that freed cabinet is prime pantry space for food. Measure your tallest board before you choose a cabinet; most need about 16 to 18 inches of height. If a board only fits diagonally, it belongs somewhere else. Do not force it and lose the space you just won.
Claim a Closet or Hallway Shelf Nearby

Your pantry does not have to live in the kitchen. A linen closet, a hallway shelf, even the top shelf of a coat closet two steps from the stove can hold backstock, bulk buys and the appliances you use twice a month. Give yourself one clear rule: everyday food stays in the kitchen, overflow lives in the closet. That split keeps you from trekking down the hall for salt. Use one shelf only at first and store food in lidded bins so the closet still works for everything else. Plenty of small apartments hide storage like this — our small apartment storage ideas has more spots people walk past every day.
Use Under-Shelf Baskets to Double a Shelf

Most cabinets have a tall gap above short items — wasted air you are paying rent on. Under-shelf baskets hook over the shelf above and hang in that gap, instantly doubling the space for packets, small jars, coffee supplies or snacks. They cost about $8 to $15 each, need no tools, and come out in seconds if you change your mind. Put light things in them, not heavy jars; a loaded basket can bow a thin shelf over time. Two baskets per cabinet is usually the sweet spot. Three turns the cabinet into a puzzle you have to solve every time you want tea.
Keep a Small Countertop Produce Zone

Some food should never compete for cabinet space. Give onions, potatoes, garlic, bananas and bread one small, defined countertop home: a wooden bread box, a shallow basket, or a two-tier stand in a corner. Defined is the key word. One basket reads as a system; the same food spread across the whole counter reads as a mess and eats your prep space. Keep this zone away from the stove, since heat shortens the life of produce, and check it twice a week — one soft potato hiding at the bottom can take the rest down with it. This also keeps ethylene-heavy fruit away from your other produce.
The everyday / backstock rule
Every idea on this list runs on one split: everyday food lives within reach, backstock lives up high, on the fridge or in a nearby closet. Keep that split and the kitchen stays calm. Break it — bulk buys in your everyday cabinet — and the clutter creeps back within a month.
Put Backstock in Bins on Top of the Fridge

The top of the fridge is prime real estate that usually collects dust and one sad plant. Use it for backstock instead: the extra cans, the second box of cereal, the bulk snacks that would overflow your cabinets. Two clear bins with handles keep it tidy and, more importantly, keep you honest — when the bin is full, you stop buying. Pull the whole bin down to check it before a grocery run. Do not store anything up there that heat can hurt, like chocolate or oils; the top of a fridge runs warmer than you think. And if you cannot reach it safely with a step stool, this idea is not for your kitchen.
Label Everything by Zone, Not Just by Name

Labels fail when they only name the thing. In a no-pantry kitchen, label by zone instead: breakfast, quick dinners, baking, snacks, backstock. Zones tell anyone in the house where something goes back, which is the moment most systems fall apart. You do not need a label maker — painter's tape and a marker work fine, and tape is easier to change when a zone moves, which it will. Label the shelf edge or the front of the bin, not the lid, so you can read it while the bin is in place. Keep zones broad. Five zones you remember beat twelve perfect categories nobody in your house can keep straight.
Do a 10-Minute Weekly Reset

A kitchen without a pantry does not stay organized by accident. It stays organized because of a boring little habit: ten minutes, once a week, ideally right before you write your grocery list. Pull out anything expired, move backstock forward, put strays back in their zones, and note what is actually running low. That is the whole job. Tying it to grocery-list day means your list is based on what is really in the cabinets, not on a guess made at the store. If a full reset feels like too much, do one zone per week on rotation. Five zones, five weeks, and the whole kitchen gets touched without a single big organizing day.
You do not need all 15 ideas, and you definitely do not need them this weekend. Pick the three that match your worst problem — for most no-pantry kitchens that is the cabinet audit, the rolling cart and the tiered risers — and stop when cooking stops feeling like a search party.
A pantry was never really about the room. It was about knowing what you have and where it goes back. Cabinets, walls, a cart and one borrowed closet shelf can do that job just fine. Next, if you do have even a tiny pantry closet to work with, our small pantry organization ideas will help you squeeze more out of it.
Kitchen Organization Without a Pantry FAQs
Expert answers & styling advice
How do you organize a kitchen with no pantry? ▼
Give food zones inside your existing cabinets instead of scattering it. Claim one cabinet for everyday food, use risers and under-shelf baskets to make shelves visible, keep backstock above the cabinets, on top of the fridge or in a nearby closet, and add a three-tier rolling cart if you need true overflow space.
Where should food go in a small kitchen without a pantry? ▼
Everyday food goes in the cabinet closest to where you prep and cook. Heavy cans and backstock go low or on a rolling cart. Light, rarely used items go above the cabinets. Produce that should not be refrigerated gets one small countertop zone, like a wooden bread box and a basket, instead of spreading across the counter.
What is the best pantry alternative for renters? ▼
A three-tier rolling cart. It needs no installation, fits the narrow gap beside most fridges, holds a surprising amount of cans and jars, and moves out with you. Add under-shelf baskets and a vertical divider rack — both fully removable — and you have a pantry system with zero damage to the kitchen.
How do I stop buying duplicates when I have no pantry? ▼
Duplicates happen when food hides. Keep cans and jars visible on tiered shelf risers, decant dry goods into clear square containers, and do a 10-minute reset before you write your grocery list. If you can see what you own, you stop re-buying it — that visibility is the whole trick.